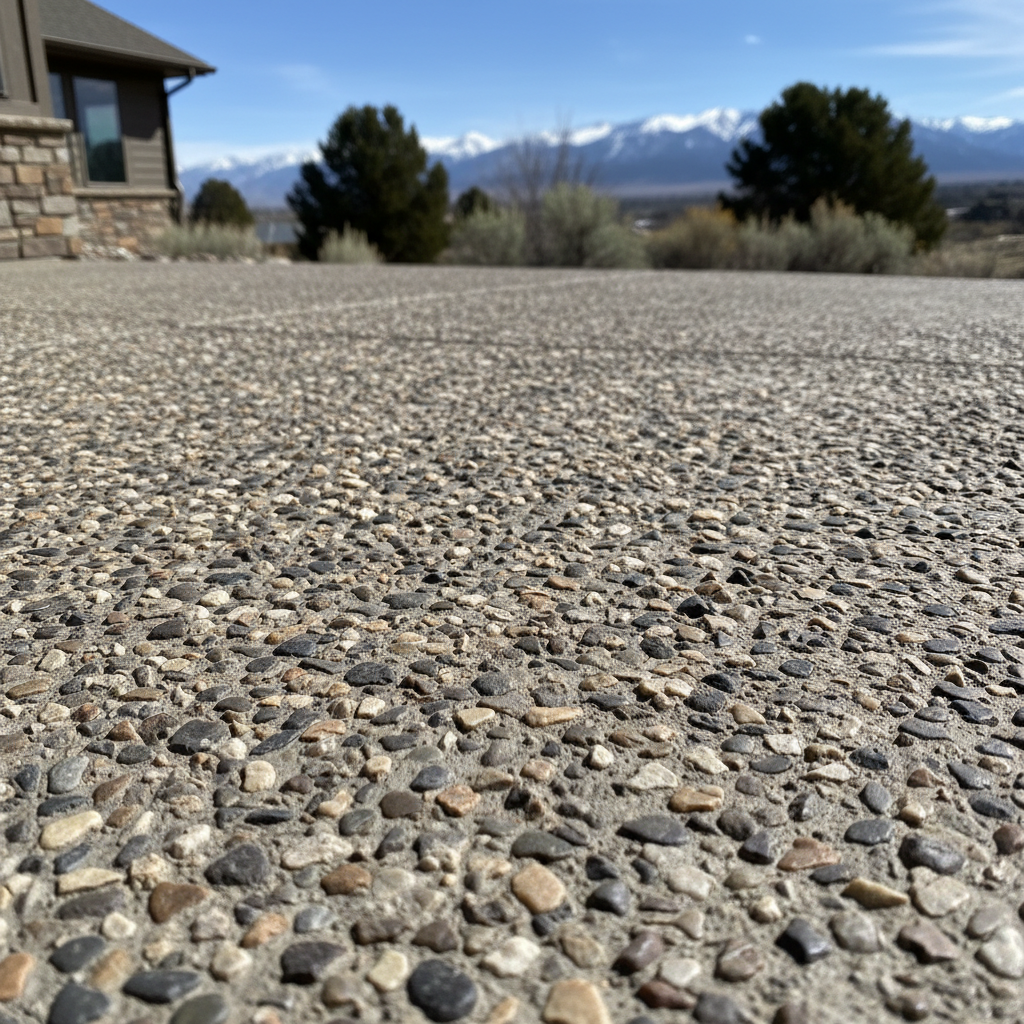
Alright, Millcreek homeowners, let us talk about patios. You are probably thinking about a nice place to relax, to fire up the grill, or just to enjoy our beautiful Wasatch Front evenings. A Concrete Patio is a solid choice. It is durable as well as low-maintenance. This type of patio gives you a great foundation for outdoor living in Millcreek. But before you grab a shovel, you need a plan. Here is what we have seen over the years. This is what you need to know about tackling a Concrete Patio project.
Before You Start: Planning Your Patio Project
First things first, do not just start digging. A little planning helps a lot. This is especially true here in Millcreek where our soil can be a mix of things. This includes expansive clays in some areas. That kind of soil can swell and shrink. It can cause real problems for concrete if you do not prepare the area correctly.
DIY or Pro? Be Realistic
This is the big question for your Concrete Patio project. Can you build a Concrete Patio yourself? For small, simple slabs, maybe you can. You can save a good amount of money on labor. Labor can be 40-60% of a professional job. But here is the important part: concrete is not forgiving. Once you start mixing, or once that truck shows up, you have a short amount of time. This is usually 30-90 minutes. You need to get it poured, leveled, and finished in this time. There is no pause button. If you make a mistake, fixing it can cost you hundreds of dollars.
If you are thinking about a larger Concrete Patio, or anything complex, or if you want a decorative finish like stamping, you really should call a professional. Kingdom Concrete Millcreek has the equipment as well as the experience as well as the crew to get it done right the first time. For our company, it is about making sure your Concrete Patio lasts. It is not just about making it look good for a season.
Permits and Paperwork
Do not skip this step. Sidewalks and driveways might not always need a permit in Millcreek. But it is always best to check with the city’s building department for Concrete Patios. You do not want to build something only to find out it is not up to code. In addition, make sure you know where your property lines are. You also need to know about any setbacks. You will need to show setbacks from lot lines to structures on your plans.
Site Prep: It is All About That Base
This is probably the most important step. This is where many DIY projects go wrong. You need to clear the area of grass as well as roots as well as rocks as well as any other debris. Then, you will dig out the area. For a typical 4-inch concrete slab, you will want to dig down about 8-9 inches. This allows for a proper gravel base. This base is important for drainage as well as stability. It helps prevent the concrete from settling or cracking later on.
- Excavation: Dig deep enough for your Concrete Patio. Uneven depths mean weak spots.
- Gravel Base: Lay down 4-6 inches of compacted crushed stone. This helps with drainage. This is especially true with our freeze-thaw cycles here in Millcreek.
- Compaction: You can use a hand tamper for small areas. But a plate compactor is much better for getting that base really firm. You can rent these tools.
- Forms: Build solid forms with 2x4 or 2x6 lumber. Stake them every couple of feet. Make sure they are level. They should also be sloped slightly away from your house for drainage. This means about 1 inch for every 8 feet.
- Reinforcement: Do not forget wire mesh or rebar. This gives the concrete strength. It also helps prevent cracking.
During the Pour: Time is of the Essence
If you are doing this Concrete Patio project yourself, make sure you have all your tools ready. You should also have a helper or two. Concrete does not wait.
- Mixing: If you are mixing bags, follow the instructions carefully. Too much water makes the concrete weaker. If you are getting a ready-mix truck, have everything prepared and ready to go.
- Pouring: Pour continuously from one end. Use shovels or a come-along to spread it. This helps to get rid of any empty spots.
- Screeding: Use a straight board, like a 2x4. Move it in a sawing motion across the forms to level the concrete. This process is called screeding.
- Floating: Once the bleed water goes away, which is usually 30-90 minutes, use a bull float or a darby. This smooths the surface. It also pushes the coarse aggregate down.
- Edging and Jointing: Use an edger along the edges for neat, rounded sides. For larger Concrete Patios, you will need to cut control joints. These are made to create weak spots. So if the concrete cracks, it cracks where you want it to.
- Finishing: A broom finish is common for Concrete Patios. This is because it provides good grip.
After the Pour: Curing and Care
You are not finished once the concrete is smooth. Curing is an important step for strength as well as durability.
Curing is Key
Concrete does not just dry. It cures through a chemical process called hydration. This takes time. Full strength is usually reached around 28 days. But you can walk on it in 24-48 hours. Do not put heavy furniture on it for at least 7 days. Avoid heavy loads for the full 28 days.
Proper curing means keeping the concrete moist. You can do this by:
- Spraying it with water regularly.
- Covering it with plastic sheeting to keep moisture in.
- Using a curing compound.
Rushing this process leads to weaker concrete. That concrete is more likely to crack.
Sealing and Maintenance
Once your Concrete Patio is fully cured, you will want to seal it. Sealing protects against stains as well as moisture as well as UV damage. This is important with our sunny Millcreek summers. It also helps it stand up to those freeze-thaw cycles we get. Reapply sealer every 2-3 years.
For regular cleaning, a hose and mild soap are usually all you need. Sweep regularly to keep debris off. If you get a stain, clean it quickly. Just do not use a pressure washer on stamped concrete. Also, do not use harsh chemicals like acid or vinegar. They can damage the sealer.
Building a Concrete Patio is a big project. But it is completely possible if you are prepared. You also need to be realistic about what you can handle. If you are ever unsure, or if your project is more than a small slab, give us a call at Kingdom Concrete Millcreek. We are always happy to help you get that perfect outdoor space in Millcreek.